Matzah Baking, an 18-Minute Project
Do it yourself, or learn about this intense process.
Baking your own matzah can be a rewarding way of preparing for Passover; however it is very labor intensive. Even if you are not about to embark on such a project, the following article provides an interesting window into the unique process of baking matzah.
If you do want to try it, this project needs to be undertaken by a group with access to a large work area and a professional oven. Most synagogue kitchens are ideal for this. Please keep in mind that the work area (including the oven) must be thoroughly made kosher for Passover before undertaking matzah baking.
Reprinted with permission from The Jewish Catalogue: A Do-It-Yourself Kit, edited by Richard Siegel, Michael Strassfeld, and Susan Strassfeld, published by the Jewish Publication Society.
Ingredients
- matzah-perforating machine (you may have to improvise this: it looks like a rolling pin with spikes)
- sandpaper
- rolling pins
- a kneading tub
- smooth working surfaces, preferably glass or marble slabs
- a baker’s oven
- cold spring water
- special Passover flour, or whole-grain wheat
- long wooden poles
- six or more people
Directions
Hametz, which is forbidden during the entire holiday of Passover, is defined as any fermented grain product (specifically, from one of the “five grains” mentioned in rabbinic literature: wheat, spelt, barley, oats, and rye. Rice, millet, and beans, while not explicitly forbidden in the Talmud, are not eaten by any Ashkenazic Jews because they undergo a process similar to fermentation). Fermentation is presumed to take place within 18 minutes after the exposure of the cut grain to moisture.
Matzah, which is required as the central element at the Seder and which is the staple food throughout the week of Passover, is defined as the bread made from grain and water dough without fermentation. The problem, of course, is how to make such a dough without causing fermentation. This is accomplished by three means.
1. Protecting the ingredients from moisture and heat prior to mixing.
2. Preparing the dough very rapidly.
3. Baking at extremely high temperatures.
The Starting Ingredients
The flour must be absolutely dry and stored in a cool, dark place. According to the strictest interpretation, it should have been watched from the time of reaping to ascertain that it was never exposed to moisture. Such flour, known as shemurah flour, may be purchased from one of the shemurah matzah bakeries in New York. According to a more lenient view, it is sufficient if the flour was watched from the time of milling. In the latter case, you may purchase whole grain for matzah at any grain store and mill it yourself, making sure that your mill is kosher-for-Passover before you start.
The water must be drawn from a spring and allowed to settle overnight in a cool, dark, place. This is done so the water will not be warm. The vessel in which it is stored should be perfectly clean and kosher-for-Passover. Tap water or bottled spring water may not be used.
The Kneading
Before starting, make certain that the boards, rolling pins, etc. that you are using are kosher-for-Passover. Everyone who will be handling dough should wash his/her hands in cold water before beginning to work, and between each batch of dough he/she handles, and then dry his/her hands thoroughly.
The flour and water are mixed in a tub at a ratio of 3-1/4 to 1. The maximum amount of flour to be used at any one time is three pounds, but unless one has a small army of people working together it’s advisable to use much less. Once the dough is made, it should be cut into small pieces, no bigger than the palm of your hand, and distributed for kneading.
Each piece should be worked continuously–it may not sit on the table, even for a brief period. Kneading prevents the dough from rising. The small teyglekh, or balls of dough, should be kneaded until they are of uniform consistency–perhaps for 60 or 90 seconds–and then rolled out into a pancake shape. While the matzot are being rolled, they should be constantly picked up, to make certain that the dough does not stick to the table. One reason that this is important is that, unlike kneading bread, one may not sprinkle additional flour on the kneading board.
Once the dough has become very thin, and has reached a diameter of six or eight inches, it should be carried on the rolling pin to a special place where the matzah is perforated with holes by means of a special machine. From here the dough is taken to the oven.
Between batches of dough, several people should be assigned to clean off each work spot and every rolling pin. Because water might produce hametz, sandpaper is probably best for this purpose.
Baking
As noted above, it is probably necessary to use a baker’s oven to make matzah, in order to reach temperatures of 600° to 800° F. The oven should be stoked up from two to four hours or more before baking begins. The perforated matzot are placed in the oven with long wooden poles and should bake within two to three minutes.
The total time elapsed, from the beginning of the kneading till the matzot are placed in the oven, should in no event be more than 18 minutes.
After baking is completed, a small portion is separated, using the same blessing as in baking challah, and this is burnt up completely.
The Result
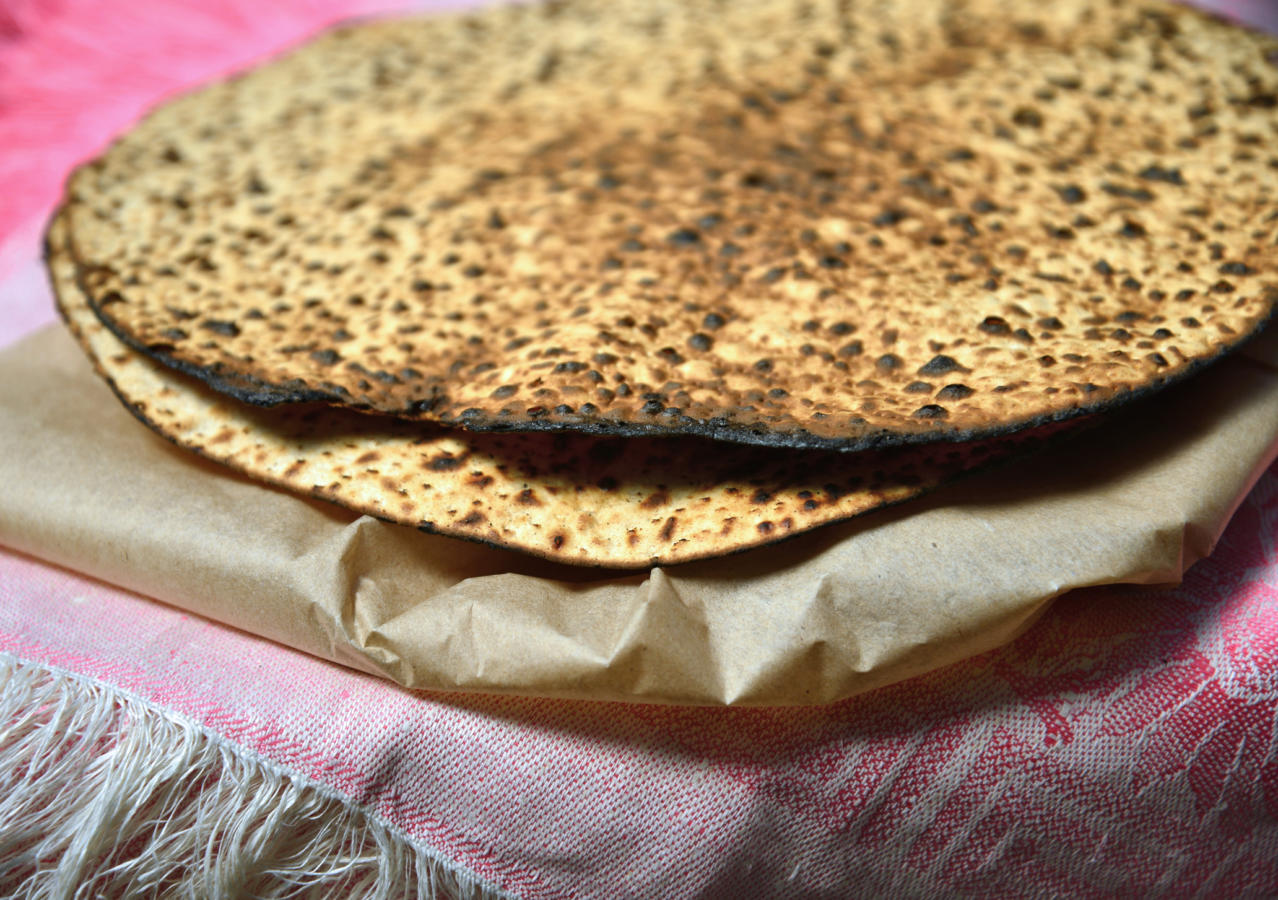
Brown, crisp matzot suitable for eating at the Seder and celebrating true freedom.
Prep for Passover like a pro with this special email series. Click here to sign up and you’ll receive a series of helpful, informative, and beautiful emails that will help you get the most out of the holiday.


