I will admit that I don’t love freezing challah; nothing tastes quite the same as a freshly baked loaf on Friday night. (If you’re seeking ways to improve your challah baking in general, here are some of my best tips and suggested tools for making perfect challah every time.)
But, of course, it’s just not always possible to bake a fresh loaf each and every Friday. It totally makes sense to bake up large batches of challah and freeze several loaves to break up the work. So here are my five top tips for freezing challah, to allow for an (almost) fresh-tasting loaf every time:
1. Let It Cool Completely

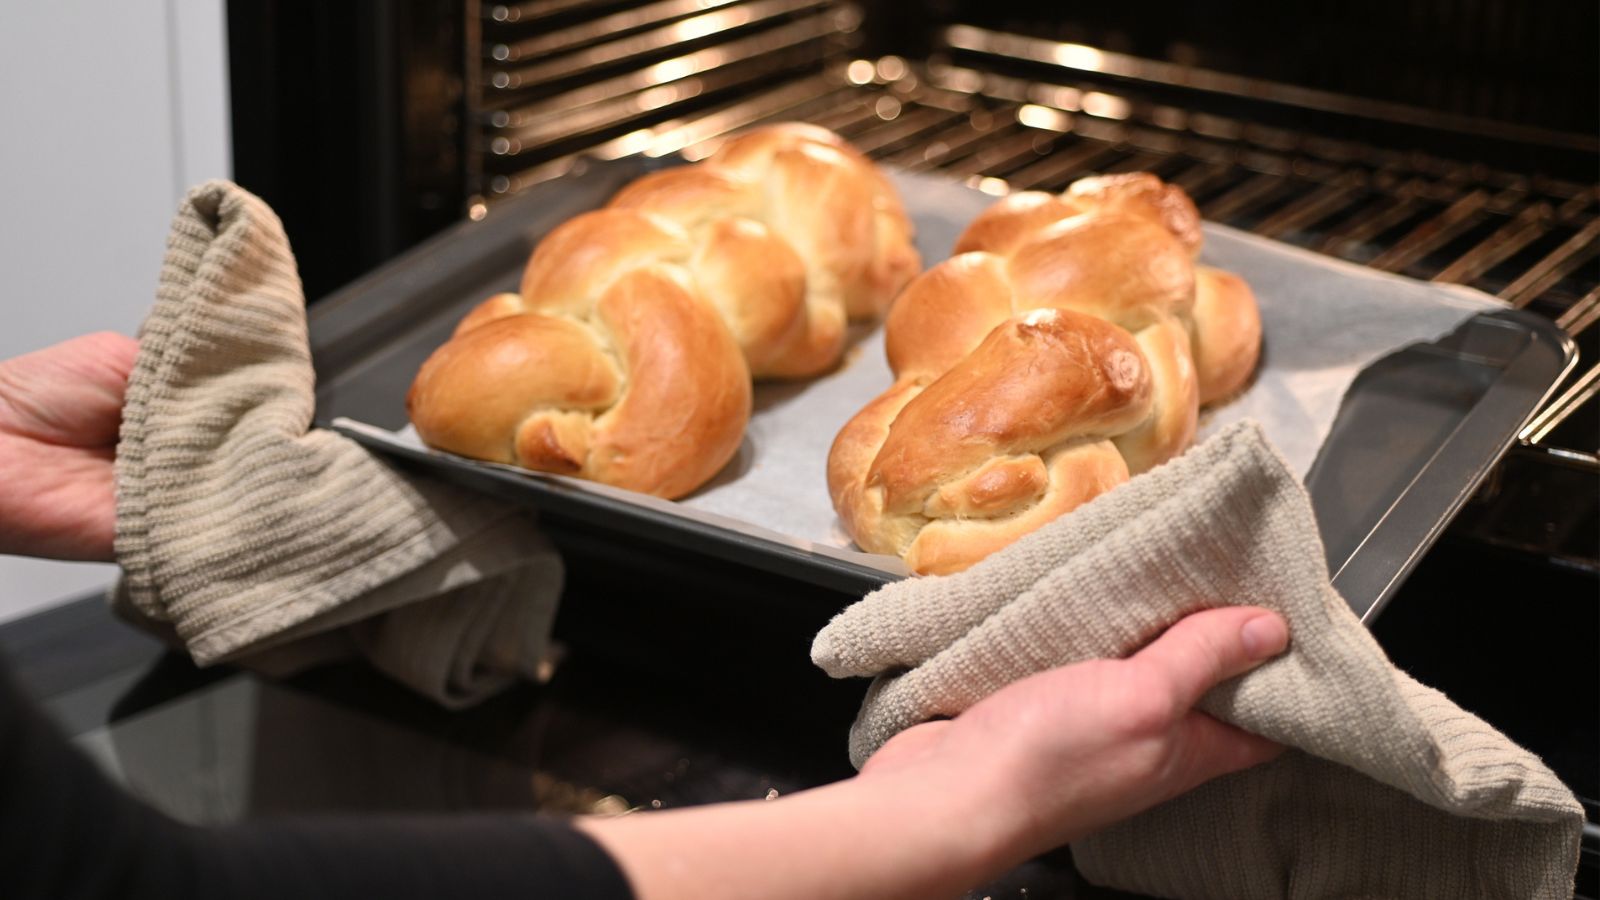
One of the most important steps to successfully freezing challah is allowing it to cool completely before freezing. This means allowing it to cool at room temperature, ideally on a wire baking rack, for at least two hours.
Bread cools at different rates depending on how dense the loaf is, so you don’t want to rush this part. If the challah is still warm, moisture can become trapped inside, causing the challah to get soggy and even stale once stored. If you bake the challah at night and need to go to sleep, it would be better to leave it out all night to cool than to prematurely pop it into the freezer.
The Nosher celebrates the traditions and recipes that have brought Jews together for centuries. Donate today to keep The Nosher's stories and recipes accessible to all.
2. Double Wrap It
A lot of people double wrap their challah in two layers of aluminum foil before freezing, but aluminum foil will not create a strong enough seal to properly preserve the bread. Instead, you should wrap challah in foil and then place it in a gallon-sized Ziploc freezer bag, taking care to remove as much air as possible. This will create a stronger seal and avoid exposing the challah to air and cold.
Note: I would not suggest leaving baked challah for longer than 2-3 months in the freezer.
3. Warm It Up

On the day you are ready to serve, take the challah out of the freezer and allow it to thaw for three to four hours at room temperature. When ready to serve, place in a 300°F oven for 10 minutes to warm slightly. This step is optional, its not necessary, but I do find its just a slightly more enjoyable experience to have the challah warmed slightly before serving.
4. Freeze the Dough
One other way to prep ahead is by freezing your challah dough. I don’t recommend keeping dough in the freezer for more than one month, but if you have time to make a double batch of challah, or don’t need to use all the dough you have made on one particular week, you can place your prepared dough in a lightly greased Ziploc freezer bag, taking care to remove as much air as possible.
When you are ready to bake challah, remove the dough from the freezer and allow it to defrost in the fridge for five to six hours, or on the counter at room temperature for three to four hours (the time will vary depending on the time of year and temperature in your kitchen). Once the dough is no longer cold to the touch, shape it and bake as per usual.
5. Freeze an Unbaked Loaf

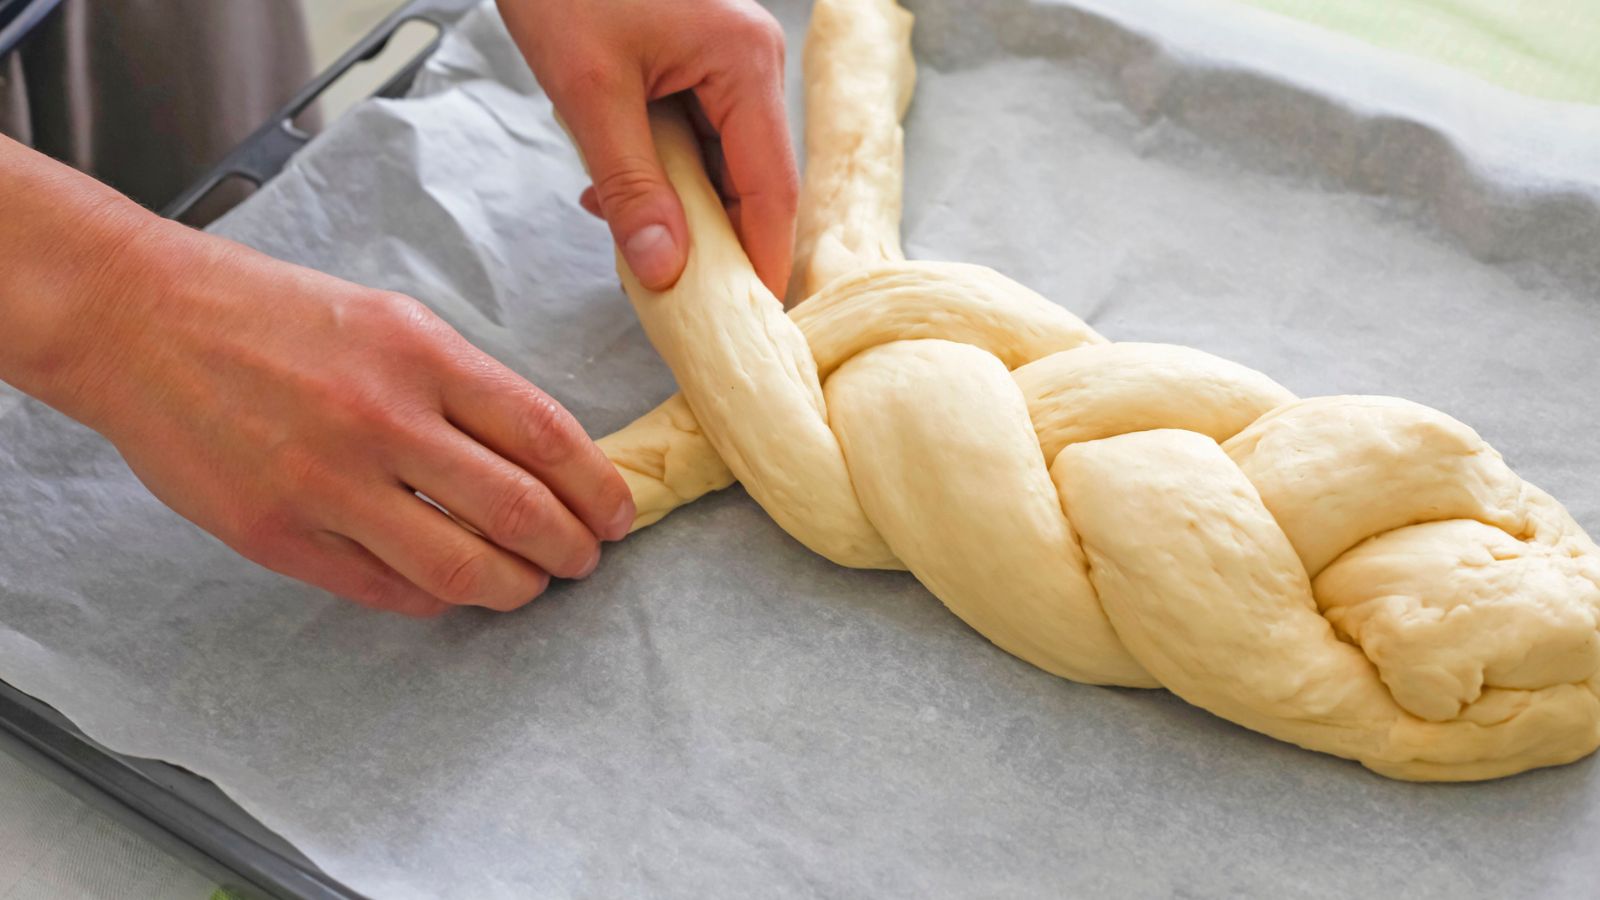
Another way to freeze challah is to freeze an actual braided loaf! My colleague Jennifer Modlinger swears by this method and here’s what she suggests: Allow the challah dough to complete its first rise. After the first rise, braid it, double wrap it in Saran Wrap, and place in a Ziploc freezer bag in the freezer. Make sure to store it on a flat surface with plenty of room around it in the freezer so that it doesn’t get smushed before it is completely frozen.
When you are ready to bake the challah, remove it from the freezer six hours in advance. Unwrap it, place it on a parchment-lined baking sheet, cover loosely with a tea towel and allow it to slowly defrost and rise. Once it has doubled in size, egg wash and bake as per usual.


