Of all the treats associated with this time of year, the most iconic seasonal bake is surely the sugar cookie. Which, personally, is my least favorite cookie to bake.
Between the rolling, the chilling, the cutting and all the flour everywhere, I always found these cookies to be super stressful and not fun at all. And we haven’t even gotten to the decorating. Though I consider myself a skilled and confident baker, those traits reach a hard stop when it comes to decorating.
So, years ago, I resolved to figure out how to eliminate the stress, the mess and the hassle of making decorated sugar cookies, while still creating delicious, festive and easy to execute cookies.
Some expert tips: The secret is to roll the dough right after you mix it and THEN chill it. It’s much easier to roll out when warm, and you’ll get perfect, crisp edges when you cut out the chilled dough. Rolling it between parchment paper means no flour, no sticking and no mess. And you can use the paper to bake the cookies on! Winning! You can use any sugar cookie dough that you like; I’ve included my easy, tried-and-true recipe here.
The Nosher celebrates the traditions and recipes that have brought Jews together for centuries. Donate today to keep The Nosher's stories and recipes accessible to all.
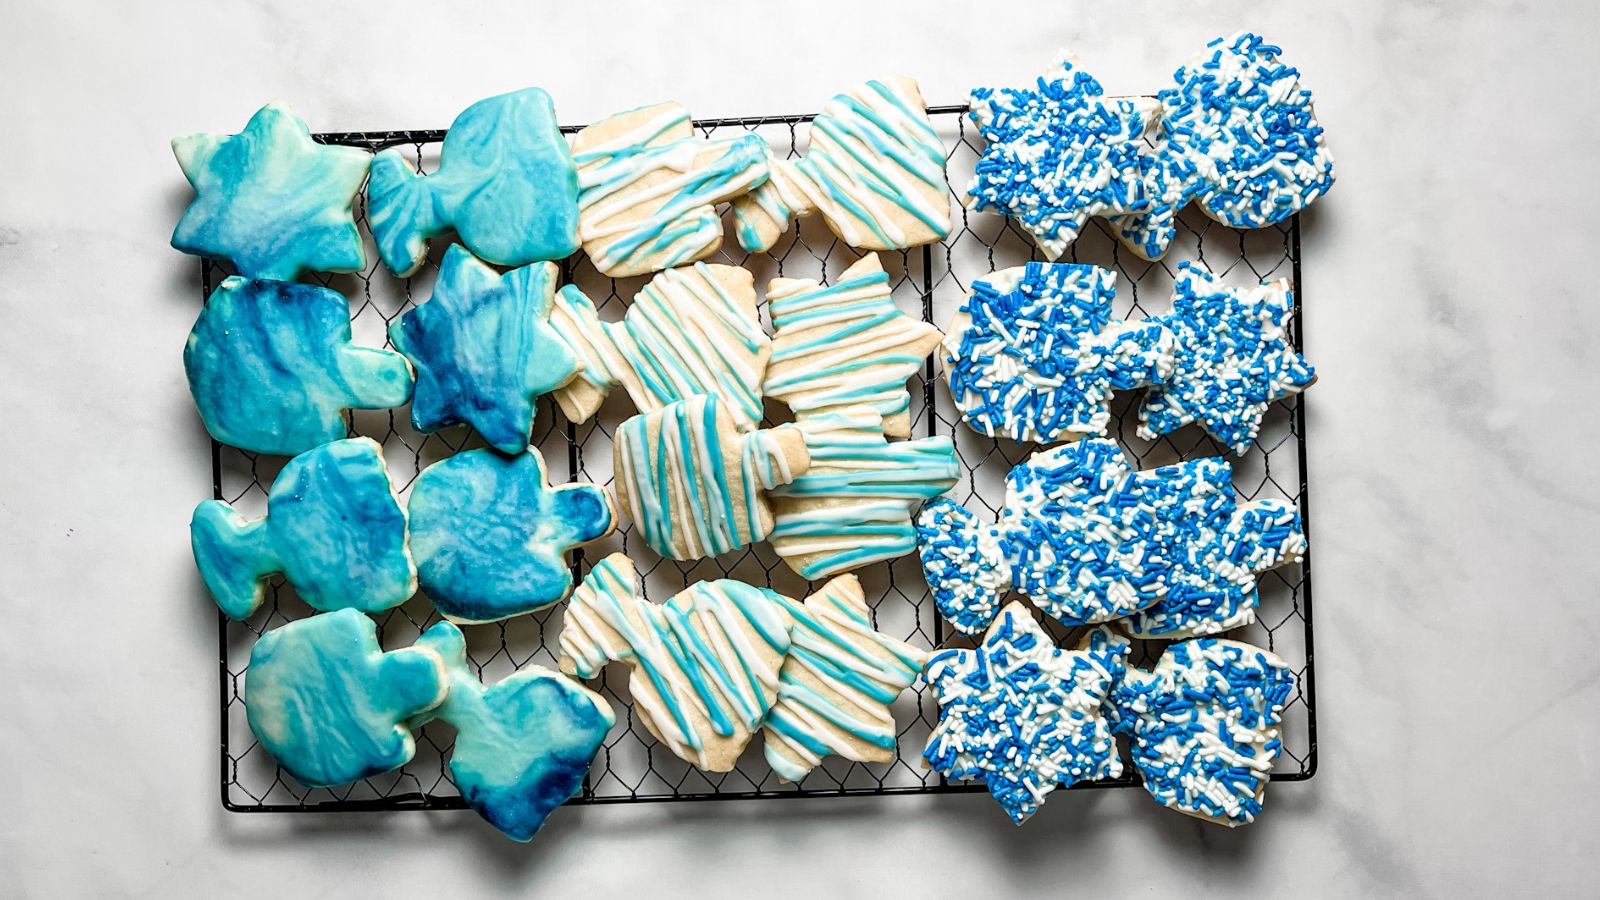
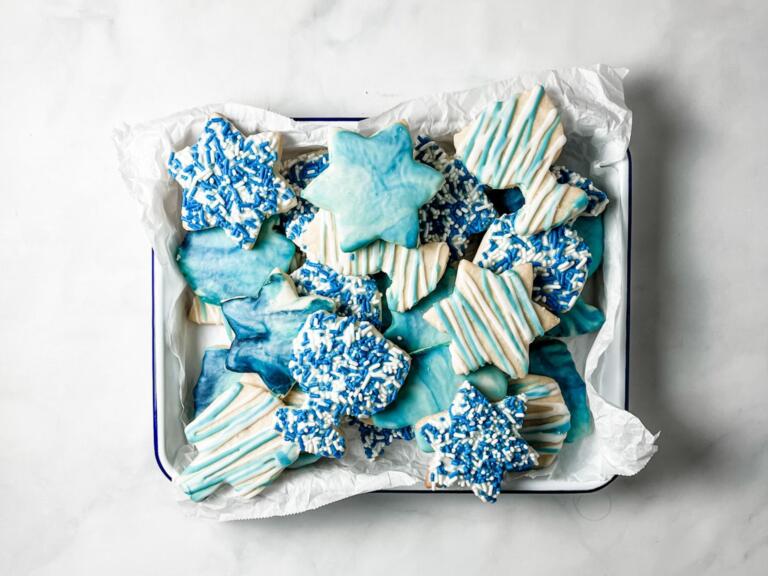
As for decorating, I use a simple, two-ingredient glaze, some food coloring and sprinkles to create three different looks that will fit right in on your holiday table.
Hanukkah Cookies
The perfect festive sugar cookie.
- Total Time: 40 minutes
- Yield: Approx. 30 cookies
Ingredients
For the cookies:
- ½ cup (8 Tbsp) unsalted butter, at room temperature
- 1 cup granulated sugar
- 1 large egg, at room temperature
- 1 tsp vanilla extract
- 2 cups all-purpose flour
- ½ tsp baking powder
- ¼ tsp kosher salt
For the decorations:
- 2 cups confectioners’ sugar
- 2–4 Tbsp milk, water or lemon juice
- blue food coloring, blue and white sprinkles
Instructions
- Cut four pieces of parchment paper to fit a standard size baking sheet (or have four pre-cut sheets at the ready).
- Beat the butter and sugar till light and fluffy. Add the egg and vanilla and beat again. Add the flour, baking powder and salt and beat once more.
- Divide the dough in half. Working with one half at a time, roll the dough ¼” thick between two sheets of parchment paper. Repeat with the remaining dough and parchment sheets. Stack the dough, still between the parchment sheets, on a baking sheet and refrigerate for at least 1 hour (you can freeze for longer storage; wrap in plastic wrap to maintain freshness).
- Preheat the oven to 350°F.
- Take one of your dough sheets and place it on a baking sheet. Remove the top piece of parchment paper and set aside. Use cutters to cut out as many shapes as you can, and then gently remove the trimmings, leaving the cookies on the parchment. Use a thin spatula to gently lift and place the cookies in neat rows on the baking sheet. Gather up the trimmings, re-roll, and cut shapes as above.
- Bake for 8-10 minutes or till lightly golden around the edges. Transfer to a wire rack to cool completely. Do the same with the second dough sheet, until all of the dough has been rolled and cut.
- Decorating technique #1: Place the confectioners’ sugar in a large bowl. Add 2 Tbsp liquid and whisk. Add more liquid, a bit at a time, till a thick yet pourable consistency is reached. Place the sprinkles in a shallow bowl. Set a wire rack over a piece of waxed paper. Working with one cookie at a time, dip the top into the icing, pull it up and shake gently till all the excess has dripped off. Immediately dip into your sprinkles, then place on your wire rack. Repeat with the remaining cookies and let set completely before serving.
- Decorating technique #2: Place the confectioners’ sugar in a large bowl. Add 2 Tbsp liquid and whisk. Add more liquid, a bit at a time, till the icing is thick but can still be drizzled with a spoon. Transfer half of the icing to a separate bowl and add blue food coloring till the desired shade is reached. Set a wire rack over a piece of waxed paper. Place the icing in Ziploc bags, pushing it with your fingers into one corner of the bag and sealing shut. Snip a small opening in the corner and use a zigzag motion to decorate the cookies. Let set completely before serving.
- Decorating technique #3: Place the confectioners’ sugar in a large bowl. Add 2 Tbsp liquid and whisk. Add more liquid, a bit at a time, till a thick yet pourable consistency is reached. Place a few drops of blue food coloring into the icing and use a toothpick to gently swirl it through. Set a wire rack over a piece of waxed paper. Working with one cookie at a time, sweep it through the top of the icing, making a backward C movement. Shake the excess back into the bowl and place on the wire rack. Repeat with remaining cookies, adding a few more drops of food coloring if needed to restore the marbled effect. Let set completely before serving.
Notes
The yield for this recipe is 30 cookies, but this will vary depending on the size cookie cutter you use.
- Prep Time: 30 minutes
- Cook Time: 8-10 minutes
- Category: Dessert
- Method: Baking
- Cuisine: Hanukkah


Made these with my granddaughters. We followed the recipe for the cookies, but we cheated on the icing and used store bought. The recipe is easy to follow and the cookies are delicious. I’m not much of a cookie maker, so maybe everyone does it this way, but especially liked rolling out the dough between two pieces of parchment. Will make again…and even try the recipe for the decorations next time.
Very easy to roll and cut. Come out crispy . A tad too sweet for my taste. I would reduce the one cup of sugar to 3/4 next time
Can I bake these ahead, freeze them and decorate later?
Sure!
Not sure what I did wrong with this, but the dough was too crumbly (and difficult to work into a ball) and the cookies way too sweet (at least for my taste).
So I made these today. I agree they were a touch too sweet and I would reduce the sugar to 3/4 or even 2/3 cup of sugar just in the cookie portion. Also for some reason my dough was much too dry and I followed the instructions exactly. I ended up adding two eggs and some more butter. Just my two cents. The icing was very easy though. Just go easy on the food coloring.